How to create a social media content calendar that survives a busy month
Most calendars die in week two. Here is the pillar-and-cadence structure that keeps one running for a year.
Key takeaways
- Decide pillars before dates — a calendar without pillars is just a to-do list.
- Set a cadence you can hit on your worst week, not your best.
- Batch by task type, not by post.
- Review monthly against reach and saves, then cut the weakest pillar.
Why most calendars fail by week two
The usual failure is not laziness — it is over-specification. A calendar that names an exact topic for every slot 30 days out breaks the moment one shoot slips, because every downstream cell now points at the wrong thing.
The fix is to plan at two resolutions: fixed structure (which pillar goes out on which day) and flexible content (which specific idea fills that slot). Structure survives a bad week; specific topics do not have to.
Step 1 — Choose three to five content pillars
A pillar is a recurring theme your audience already associates with you. Three is enough for a solo creator; five is the practical ceiling for a small team.
- Teach — the how-to content that earns saves
- Prove — results, case studies, before-and-after
- Relate — behind the scenes, opinions, day in the life
- Sell — offers, launches, testimonials (cap at 20% of slots)
Step 2 — Pick a cadence you can hit on a bad week
Consistency beats volume, and the only cadence that stays consistent is the one that survives a week with a client emergency in it. Three well-made posts a week outperform seven rushed ones, because the platform reads completion and saves, not upload frequency.
Step 3 — Build the four-week grid
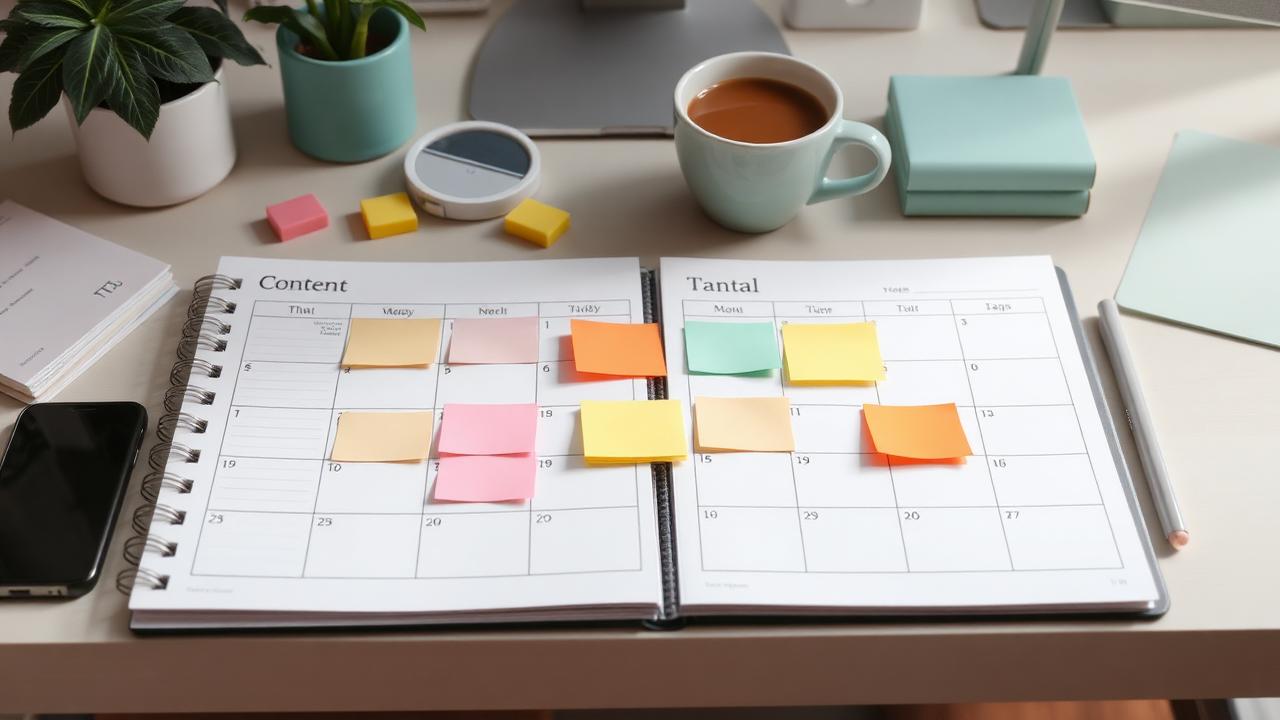
Lay out four weeks with a row per channel and a column per day, then fill only the pillar name in each active slot. Now you have a skeleton you can populate in any order, and gaps are visible at a glance.
Add three columns beside the grid: idea, asset status and caption status. Most calendars stall because assets and copy are tracked in two other tools nobody opens.
- Idea — one line, no more
- Asset — not started / shot / edited
- Caption — draft / final
- Scheduled — yes or no
Step 4 — Batch and schedule
Do all the writing in one block, all the shooting in another, all the editing in a third. Task switching is what makes content feel like a full-time job when it should be an afternoon.
Then schedule everything in one sitting. A calendar that lives in a spreadsheet still needs a human to post; a calendar that ends in a scheduler is done.
Step 5 — Review monthly, cut ruthlessly
At month end, average reach and saves per pillar. Cut or rework the weakest pillar and give its slots to the strongest. Four cycles of that and your calendar is tuned to your actual audience rather than to a template you found online.
Frequently asked questions
How far ahead should a social media calendar be planned?+
Structure for a quarter, specific content for two to four weeks. Beyond a month, topics start feeling dated and you lose the ability to react to your niche.
How many posts per week is enough?+
Three to five per channel is a sustainable target for most small teams. Pick the number you can hit during your busiest week of the quarter.
Spreadsheet or a tool?+
A spreadsheet is fine for planning, but it cannot publish. The calendar only saves time when the final step — scheduling — happens in the same place.
What do I do when a slot is empty on posting day?+
Keep three evergreen posts finished and unscheduled at all times. An emergency slot filler protects the cadence, which matters more than any single post.
Run this playbook inside Pixalera
Scheduling, Instagram AutoDM, AI Studio and post-to-sale analytics in one workspace — plans from ₹499/month.
Start free